
Quick Overview
If you’re looking for a warm and satisfying meal that’s perfect for any occasion, then this Cheesy Enchilada Chili is the answer. This delightful dish combines the rich flavors of traditional enchiladas with the heartiness of chili. Packed with cheese, spices, and wholesome ingredients, each spoonful delivers warmth and comfort. Whether it is a chilly night or a gathering with friends and family, this recipe will surely impress everyone at the table.
Ingredient Breakdown
Black Beans
Black beans are vital in this recipe. They provide protein and fiber while adding a creamy texture. Use two cans (15 ounces each) of drained and rinsed black beans to enhance the chili’s heartiness.
Kidney Beans
Kidney beans bring a robust flavor and additional protein to the dish. For this recipe, include one can (15 ounces) of drained kidney beans. Their firm texture contrasts nicely with softer ingredients.
Corn
Corn gives a sweet crunch that balances the spiciness of the chili. Add one cup of frozen corn or canned corn (drained). The bright yellow color also makes the dish visually appealing.
Bell Peppers
Bell peppers add freshness and sweetness to the chili. Use one medium-sized red bell pepper (diced) for a pop of color and flavor. They also contribute essential vitamins to your meal.
Onion
Onion provides depth in flavor and aroma. Chop one medium onion finely to release its natural sweetness. It serves as an excellent base when sautéed at the beginning of cooking.
Garlic
Garlic adds an irresistible aroma and taste to any dish. Mince three cloves of garlic for this recipe. It enhances savory notes throughout your Cheesy Enchilada Chili.
Diced Tomatoes
Diced tomatoes form the base of your chili sauce. Use one can (14 ounces) of diced tomatoes with juice to create a rich liquid that binds all ingredients together nicely.
Vegetable Broth
Vegetable broth helps achieve the desired consistency while adding flavor without overpowering other ingredients. Use two cups of low-sodium vegetable broth for optimal seasoning control.
Chili Powder
Chili powder is essential for imparting heat and depth to your dish. Measure two tablespoons for a well-rounded flavor profile that appeals to many palates.
Cumin
Cumin gives an earthy undertone that complements other spices beautifully. Add one teaspoon to enhance the overall flavor without overwhelming your taste buds.
Cheese
Cheese is what makes this enchilada chili truly cheesy! Use two cups shredded cheddar cheese or your favorite blend for topping before serving.
Step By Step Recipe: Cheesy Enchilada Chili: A Comforting and Flavorful Recipe for Any Occasion
Step 1: Sauté Vegetables
Begin by heating two tablespoons of olive oil in a large pot over medium heat. Once hot, add diced onions and bell peppers. Sauté them until they soften, which should take about 5 minutes. This will create a flavorful base for your chili.
Step 2: Add Garlic
Stir in minced garlic after the onions become translucent. Cook for an additional minute until fragrant but not browned; this step will ensure the garlic infuses into the vegetables without burning.
Step 3: Combine Ingredients
Add black beans, kidney beans, corn, diced tomatoes (with juice), vegetable broth, chili powder, cumin, salt, and pepper into the pot. Stir everything together thoroughly so that all ingredients are well combined.
Step 4: Simmer
Bring the mixture to a boil over high heat before reducing it to low heat afterward. Allow it to simmer uncovered for about 20-30 minutes; stirring occasionally will help meld flavors together and thicken your chili slightly.
Step 5: Add Cheese
Once simmered perfectly, remove it from heat before stirring in shredded cheese gradually until melted completely throughout; this creates that gooey cheesiness everyone loves in an enchilada-inspired dish!

Serving and Storing Tips
Serving Suggestion
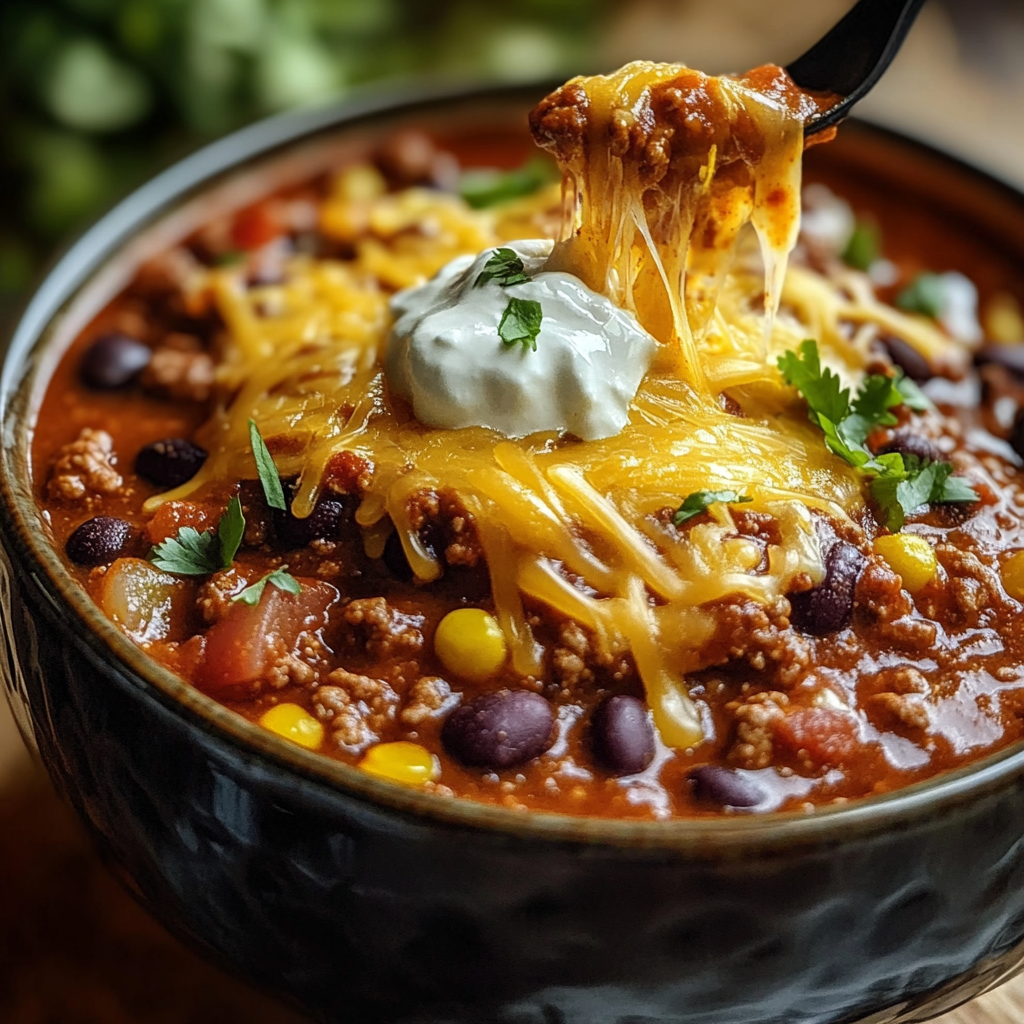
Serve your Cheesy Enchilada Chili hot with optional garnishes such as sour cream, chopped cilantro, or avocado slices on top! Pair it with tortilla chips or warm cornbread on the side for added crunchiness!
Storage Instructions
Leftover chili can last up to five days when stored correctly in an airtight container in your refrigerator! To reheat it easily—just warm it over low heat on stovetop or microwave until heated through again!
By following these simple steps you can create an unforgettable dish that delights everyone at your table! Enjoy your cooking adventures!
Mistakes to avoid
One common mistake when making Cheesy Enchilada Chili is not sautéing the vegetables properly. Sautéing helps release their flavors, making your chili more robust. Make sure to cook onions and garlic until they are soft and fragrant before adding other ingredients.
Another mistake is using low-quality cheese. The cheese you choose can make or break your Cheesy Enchilada Chili. Opt for a good melting cheese, such as Monterey Jack or cheddar, to ensure a creamy texture and rich flavor in your dish.
Failing to taste as you cook can lead to an imbalanced flavor profile. Always sample your chili during cooking and adjust the seasoning as needed. A small amount of salt or spice can significantly enhance the overall taste.
Overcooking the chili can result in mushy beans and vegetables. Keep an eye on the cooking time, especially if you’re using canned beans. Aim for a balance between tenderness and retaining a bit of texture for a satisfying bowl of chili.
Lastly, skimping on toppings can make your dish less appealing. Adding fresh ingredients like cilantro, avocado, or sour cream adds layers of flavor and enhances visual appeal.

Tips and tricks
To achieve the best results with Cheesy Enchilada Chili, start by using high-quality ingredients. Fresh vegetables, quality spices, and good cheese contribute significantly to the final outcome. Don’t hesitate to visit local farmers’ markets for fresh produce to elevate your dish’s taste.
Consider adding a variety of beans for texture and flavor complexity. Combining black beans with pinto or kidney beans enriches the chili’s overall taste while offering nutritional benefits. This mix also provides different textures that make each bite interesting.
For a spicier kick, incorporate diced jalapeños or additional chili powder into your recipe. Adjust the heat level according to your preferences but remember that it’s easier to add heat than to reduce it once it’s in the pot.
Letting your Cheesy Enchilada Chili rest after cooking allows flavors to meld beautifully. Once done cooking, turn off the heat and let it sit covered for about 10 minutes before serving. This simple step enhances the depth of flavor in each bowl.
Pairing this chili with crusty bread or tortilla chips creates a delightful contrast of textures. The crunchiness of chips complements the creamy cheesiness of the chili wonderfully, making every bite pleasurable.
Suggestions for Cheesy Enchilada Chili: A Comforting and Flavorful Recipe for Any Occasion
When serving Cheesy Enchilada Chili at gatherings, consider offering a toppings bar with options like diced onions, shredded cheese, diced tomatoes, and sliced jalapeños. This allows guests to customize their bowls according to personal preferences and adds an interactive element to your meal.
For a vegetarian twist on this recipe, substitute traditional meat with hearty vegetables like zucchini or mushrooms. These alternatives absorb flavors well and maintain a satisfying texture while keeping your dish plant-based.
If you want extra richness in your chili, try adding a splash of cream or sour cream after cooking. This addition creates an even creamier consistency that pairs perfectly with the cheesy elements already present in the dish.
Serving this chili alongside cornbread or quesadillas can create a complete meal experience that is comforting and filling. The sweet cornbread offers a delightful contrast against savory notes from the chili.
Lastly, consider making this dish ahead of time; it freezes well for future meals. Prepare double batches when you have time so you can enjoy easy dinners later without compromising on flavor or quality.

FAQs
What is Cheesy Enchilada Chili?
Cheesy Enchilada Chili is a warm and comforting dish that combines traditional chili ingredients with cheesy goodness inspired by enchiladas. It usually features beans, tomatoes, spices, and generous amounts of cheese melted throughout for added richness.
Can I make Cheesy Enchilada Chili ahead of time?
Yes! Preparing Cheesy Enchilada Chili in advance can save time during busy weekdays or special occasions. Cook it fully then store it in an airtight container in the refrigerator for up to three days or freeze it for longer storage options.
How do I store leftover Cheesy Enchilada Chili?
Store leftover Cheesy Enchilada Chili in an airtight container in the fridge if consuming within three days; otherwise, freeze portions in freezer-safe containers for up to three months. Reheat thoroughly before serving again.
Can I adjust spice levels in Cheesy Enchilada Chili?
Absolutely! You can modify spice levels according to personal preference by decreasing or increasing spices like chili powder or adding fresh peppers such as jalapeños directly into the mix while cooking.
What toppings pair well with Cheesy Enchilada Chili?
Popular toppings include diced avocado, shredded cheese (like cheddar), sour cream, sliced green onions, cilantro leaves, or even crushed tortilla chips for added crunchiness that complements its creamy texture wonderfully!
Is there a vegetarian option for Cheesy Enchilada Chili?
Certainly! You can easily make this recipe vegetarian-friendly by omitting meat altogether while incorporating hearty vegetables like bell peppers or mushrooms along with beans to maintain protein content while enhancing flavor!
Summary
Cheesy Enchilada Chili is an easy-to-make dish that offers comfort through its flavorful combination of ingredients like beans and melted cheese. Avoid common mistakes such as using low-quality ingredients or neglecting seasonings during preparation. Utilize tips like letting it rest after cooking for better flavor integration and consider serving alongside cornbread for variety! With these guidelines in mind along with answering frequently asked questions regarding storage and customization options—you’re set up for success!