
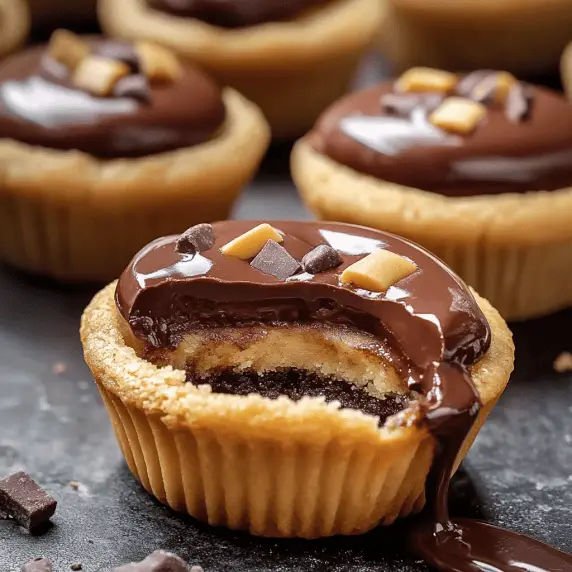
If you’re a fan of Twix bars, you’re going to fall head over heels for these homemade Twix Cookie Cups. Each one features a buttery cookie base, a soft caramel center, and a glossy layer of rich melted chocolate—just like the candy, but in adorable bite-sized form. They’re perfect for parties, gifting, or whenever you need a little something sweet without too much fuss.
Ingredients
1/2 cup unsalted butter, softened
1/4 cup granulated sugar
1/4 cup packed brown sugar
1 teaspoon vanilla extract
1 cup all-purpose flour
1/4 teaspoon baking soda
1/8 teaspoon salt
20 soft caramels (or 1/2 cup caramel sauce)
2 tablespoons heavy cream (optional, for melting caramels)
1/2 cup milk or dark chocolate, melted
Instructions
Preheat the oven to 350°F (175°C) and lightly grease a mini muffin tin or line with paper liners.
In a mixing bowl, cream together the butter, granulated sugar, and brown sugar until light and fluffy. Mix in the vanilla extract.
Add the flour, baking soda, and salt, and stir until a soft dough forms.
Scoop about a tablespoon of dough into each mini muffin cup. Gently press the dough into the bottom and slightly up the sides to form a cup shape.
Bake for 10–12 minutes, or until edges are just golden. Remove from the oven and immediately press down the centers using the back of a spoon or a small object to maintain the cup shape. Let cool in the tin.
Melt the caramels with the heavy cream (if using) in the microwave or on the stovetop over low heat, stirring until smooth. Spoon caramel into each cookie cup, leaving room at the top.
Melt the chocolate in the microwave in 20-second intervals, stirring between each, until smooth. Spoon over the caramel layer and spread to the edges.
Let the chocolate set at room temperature or chill briefly in the fridge. Once firm, remove the cookie cups from the tin and serve.
Notes
Storage: Store in an airtight container at room temperature for up to 3 days. For longer storage, refrigerate for up to a week or freeze for up to 2 months.
Caramel Tip: Using heavy cream helps soften the caramels and makes them easier to pour and spread.
Customize It: Swap milk chocolate for dark or white chocolate, or sprinkle the tops with crushed pretzels, nuts, or sea salt for extra texture.
Make It Easier: Pre-made caramel sauce can be used instead of melting caramels—just make sure it’s thick enough to hold its shape in the cups.

FAQs
Can I use store-bought caramel sauce instead of caramels?
Yes! Just make sure it’s a thicker variety so it doesn’t spill out of the cups. If it’s too runny, try heating it gently to reduce it slightly before adding.
What kind of chocolate works best?
Milk chocolate gives that classic Twix flavor, but dark chocolate adds a richer, less sweet contrast. You can also use chocolate chips, baking bars, or melting wafers.
Do I need to chill these before serving?
Not necessarily, but chilling helps the chocolate set faster, especially if you’re in a warm kitchen or planning to transport them.
Can I make these gluten-free?
Yes—just substitute a 1:1 gluten-free flour blend for the all-purpose flour. Make sure any caramels and chocolate you use are certified gluten-free as well.
How do I keep the cookie cups from sticking to the pan?
Grease the mini muffin tin well, or use mini cupcake liners for easier removal. Let them cool completely before taking them out of the pan.