
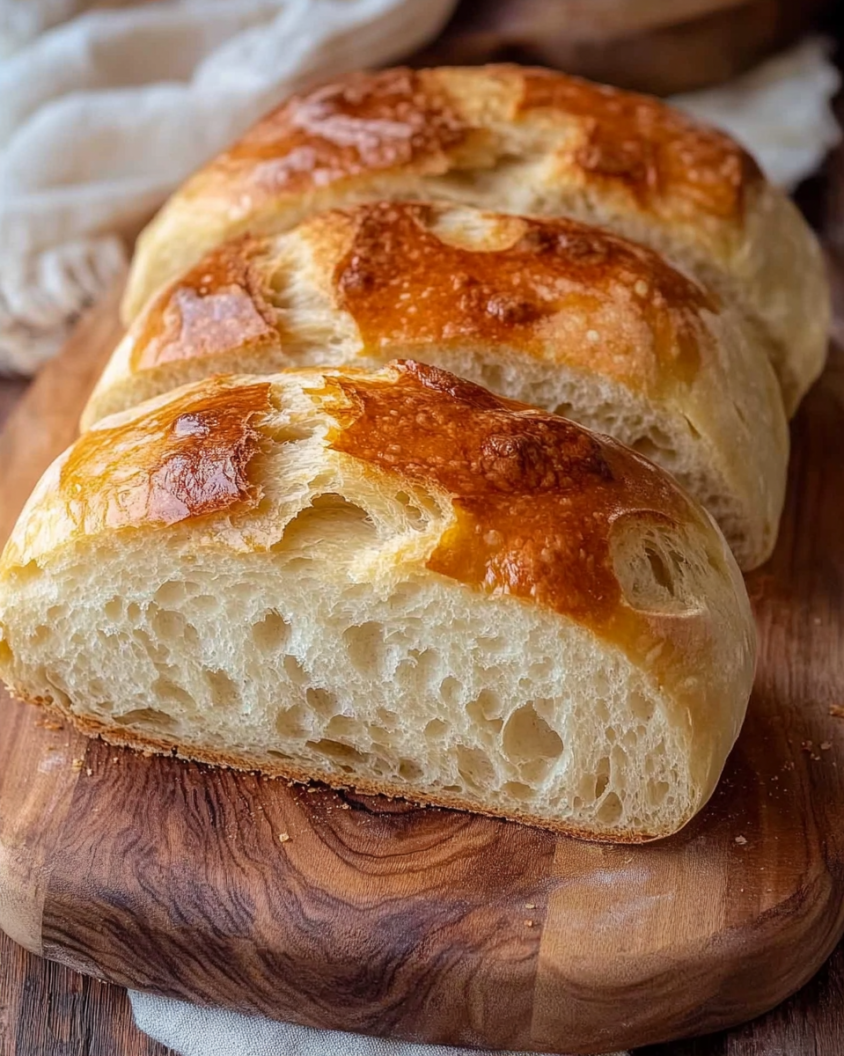
This small batch sourdough bread recipe is perfect for those who crave homemade, artisanal bread without the need to make a massive batch. With its tangy flavor, chewy texture, and crispy crust, this sourdough will make you feel like a professional baker in your own kitchen.
Recipe Overview
- Servings: 1 loaf
- Prep Time: 15 minutes
- Resting Time: 8-12 hours (includes fermentation time)
- Baking Time: 40-45 minutes
- Calories: 120-150 kcal per slice
Ingredients
- 1/2 cup (120g) active sourdough starter (fed and bubbly)
- 1/2 cup (120ml) warm water
- 1 cup (125g) all-purpose flour
- 1 cup (120g) whole wheat flour
- 1 1/2 teaspoons salt
- 1 tablespoon honey or sugar (optional, for a touch of sweetness)
- 1/4 teaspoon active dry yeast (optional, to help speed up fermentation, especially if your starter is a little weak)
Instructions

- Prepare the Dough:
In a large mixing bowl, combine the active sourdough starter, warm water, and honey or sugar (if using). Stir until the starter and sugar dissolve.
Add both the all-purpose flour and whole wheat flour to the bowl. Mix until all the flour is incorporated and you form a rough dough. Let it rest for 10-15 minutes (this helps with gluten development). - Add Salt and Knead:
Sprinkle the salt over the dough and begin kneading. You can knead by hand or use a stand mixer with a dough hook. Knead for about 5-7 minutes until the dough is smooth and elastic. If the dough feels too sticky, add a small amount of flour at a time, but be careful not to add too much as you want a slightly tacky dough. - Bulk Fermentation (First Rise):
Once kneaded, shape the dough into a ball and place it in a lightly greased bowl. Cover the bowl with a damp towel or plastic wrap and let it rest at room temperature for 6-8 hours, or until it has roughly doubled in size. If you want a more pronounced sour flavor, allow it to rise longer (up to 12 hours). - Shape the Dough:
After the dough has doubled, gently punch it down to release any excess air. Transfer it to a lightly floured surface and shape it into a round or oval loaf, depending on your preference. You can also fold the edges under to create a tighter shape. Place the shaped dough onto a piece of parchment paper for easy transferring into the oven. - Final Proofing (Second Rise):
Cover the shaped dough and let it proof for another 1-2 hours at room temperature. It should puff up slightly and become airy. - Preheat the Oven:
About 30 minutes before baking, preheat your oven to 475°F (245°C). If you have a Dutch oven, place it inside the oven to heat up as well. This will create a steamy environment, giving your bread a beautiful rise and crispy crust. - Bake the Bread:
Once the oven is fully heated, carefully transfer the dough (with the parchment paper) into the preheated Dutch oven. If you don’t have a Dutch oven, you can place the bread directly on a baking sheet. For a crispy crust, spritz the bread with water or place a pan of hot water on the oven’s bottom rack to create steam.
Cover the Dutch oven with a lid (or use a baking dome if you have one) and bake for 20-25 minutes. Then, remove the lid and bake for an additional 15-20 minutes until the crust is deep golden brown and the internal temperature of the bread reaches 200°F (93°C). - Cool and Slice:
Once baked, remove the bread from the oven and let it cool completely on a wire rack. Slicing into the bread while it’s still warm can make the crumb gummy, so be patient and wait at least an hour before cutting.
Tips & Notes
- Sourdough Starter: Ensure your starter is active and bubbly for the best rise. If it’s not, feed it with equal parts flour and water for 6-8 hours before starting the recipe.
- Flour Variations: You can substitute up to half of the all-purpose flour with whole wheat or bread flour for more flavor and texture.
- Shaping Tips: For a rustic look, shape the dough into a boule (round loaf). If you prefer a sandwich-style loaf, you can shape it into an oval.
- Overnight Method: If you prefer a no-hassle approach, you can let the dough rise overnight in the fridge after the first fermentation. In the morning, shape and bake it as directed.
Enjoy Your Sourdough!
This small batch sourdough bread recipe gives you that perfect balance of tangy flavor, chewy texture, and crispy crust without the need for large quantities. Whether enjoyed on its own or with your favorite spreads, this bread is sure to be a hit at any meal.